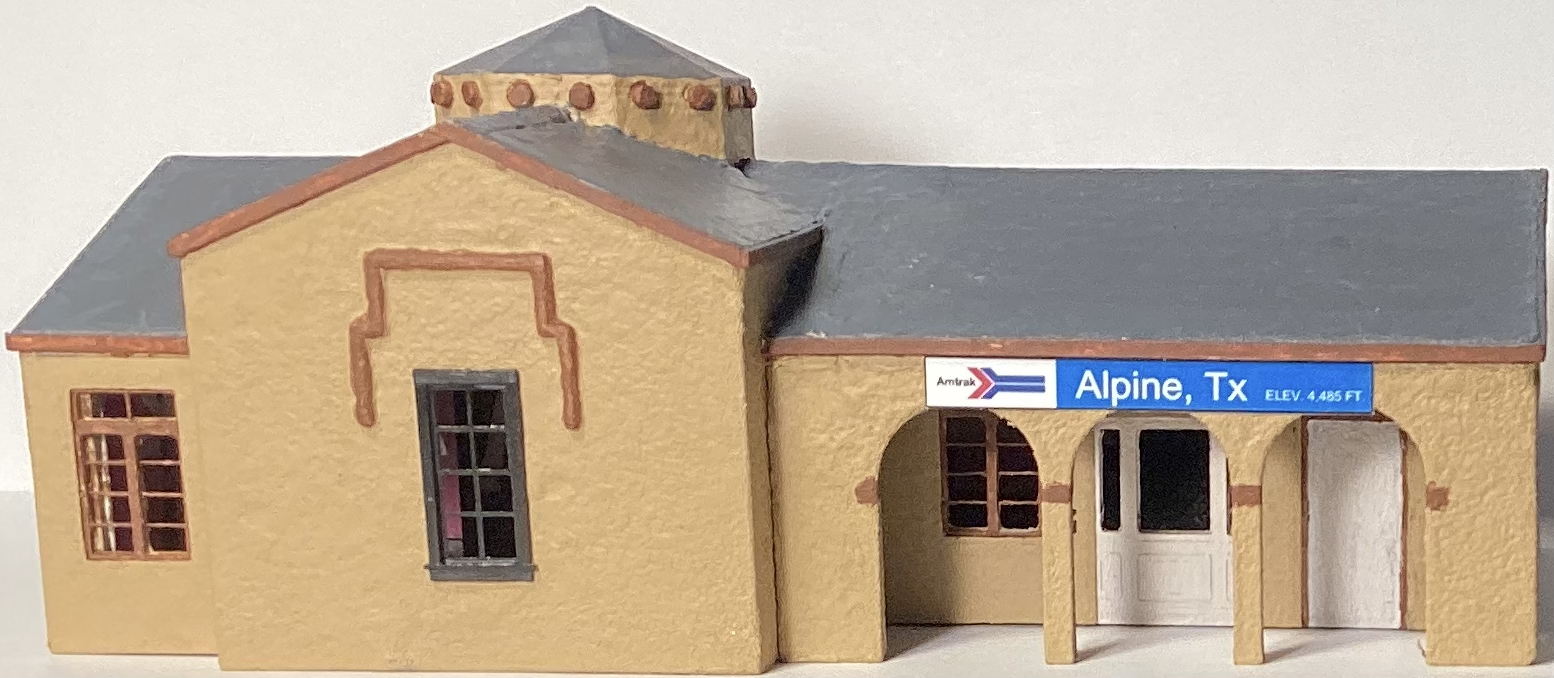

When I decided to replace the train station on my model railroad, the station in Alpine immediately came into mind. It is architecturally interesting and complex, yet not too difficult to build with a simple 3-D printer printing PLA plastic.
To design this building, I used two programs by Autodesk: Revit and Fusion 360. Revit allowed me to easily design walls at a standard thickness and create the complex roof. I then added windows and doors with Fusion 360, which is ideal for the fine design of these elements. A Revit file is easily transferred into Fusion 360 if exported in the SAT format.
3-D Printing
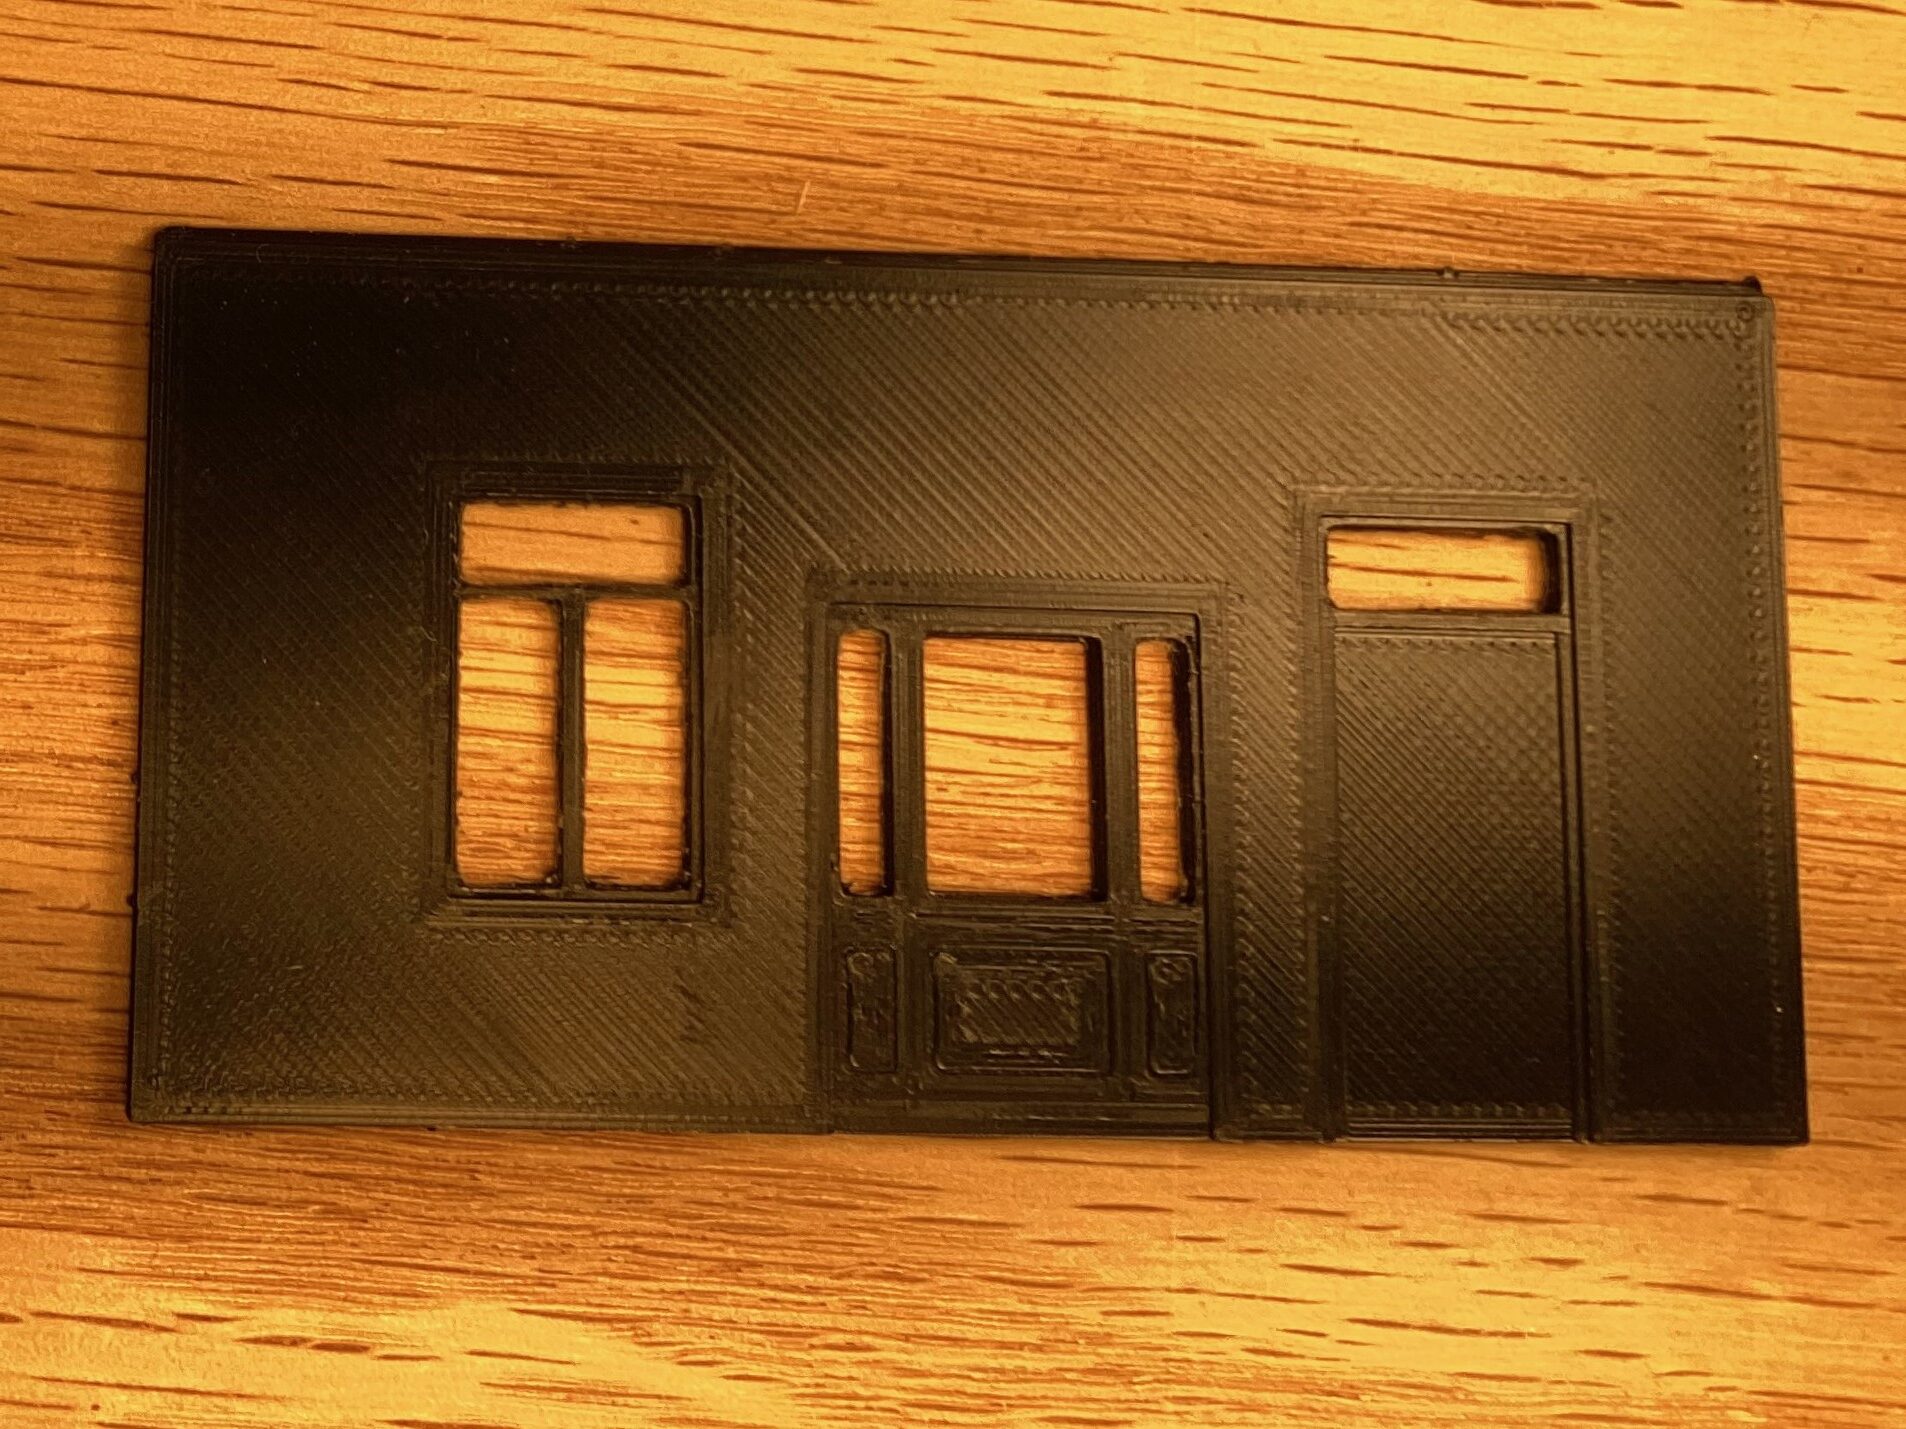
All wall and roof sections were separated (using Fusion 360) in a way that allowed each to be 3-D printed flat on the build plate, ensuring the best quality. However, the cupola was printed as one piece. Above is a 3-D printed test piece.
Finishing the Windows
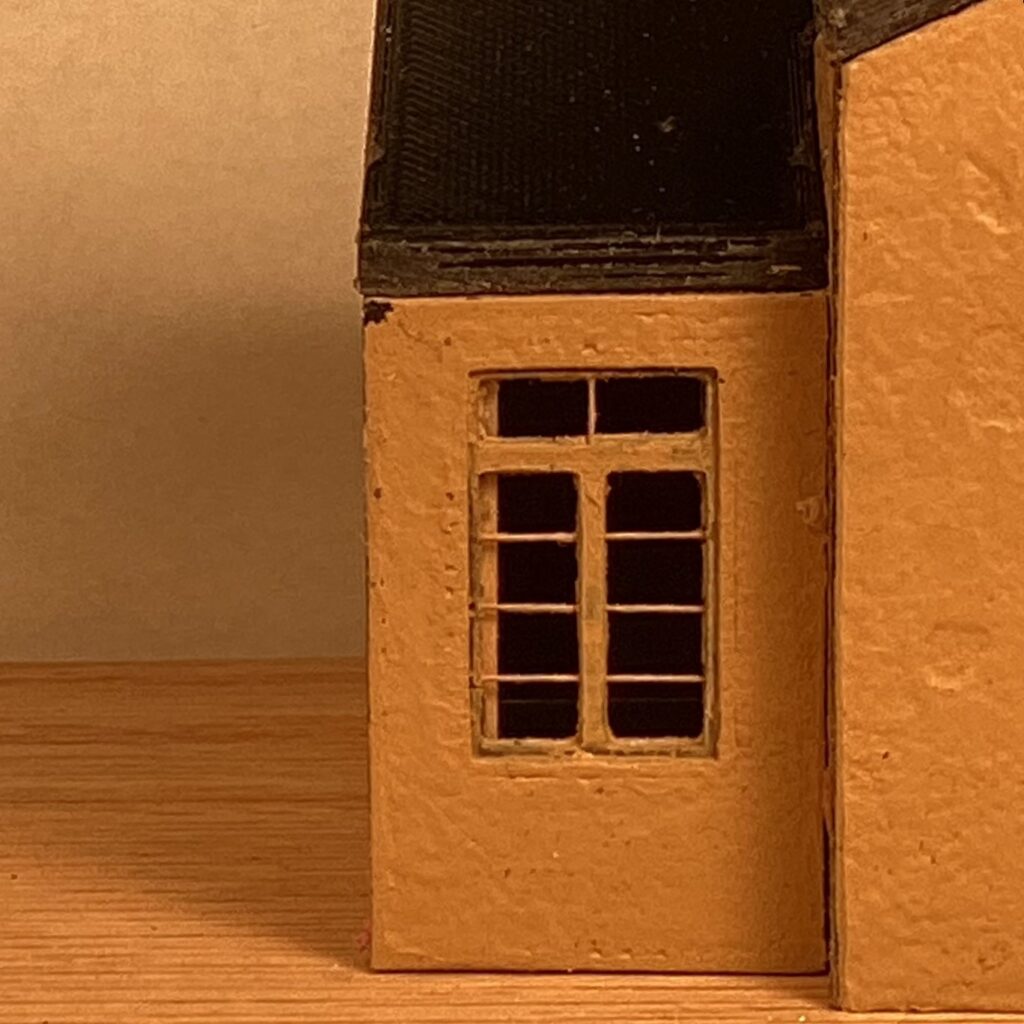
To create a more-detailed look on the windows, I used wire to replicate details too small to 3-D print. I had already incorporated holes and slots for this purpose in my design, so I just had to install the wire pieces and glue them into place. The window shown above is complete but has not yet been painted its final color.
Priming the Walls
I stippled on an acrylic house paint to cover the lines created by the 3-D printer. To build a nice texture, I used about four coats, then lightly sanded the surface. This provided a nice base for the more-detailed texture I applied later on.
Assembling Walls and Roofs
I first glued paper to the edges of the wall and roof sections, so I could glue the pieces using only white glue. On some edges, I also glued on pieces of stripwood to help reinforce corners. Although this method did not produce the strongest joints, the roof reinforced the structure, and plaster later applied to the inside of joints ensured a strong building. Clamps were used when gluing, as shown in the top left image.
Finishing the Cupola
In Fusion 360, I had created 16 holes around the top of the cupola, which the 3-D printer partially filled with supporting material. I opened up these holes and installed short lengths of a bamboo dowl I had on hand, replicating the prototype. Pieces of brass tubing would create an even more prototypical look, but I did not have any available.
Smoothing the Divisions Between Walls or Roof Components

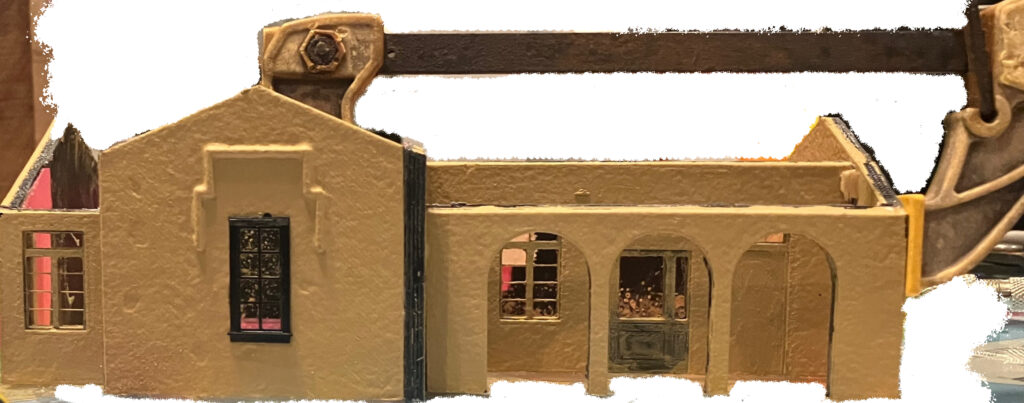
I used a Dremel-style rotary tool to smooth the joints between components. When filling was necessary, I applied plaster over the surface, then shaped it with the same method. The walls of the structure above are ready for painting.
Finalizing Painting
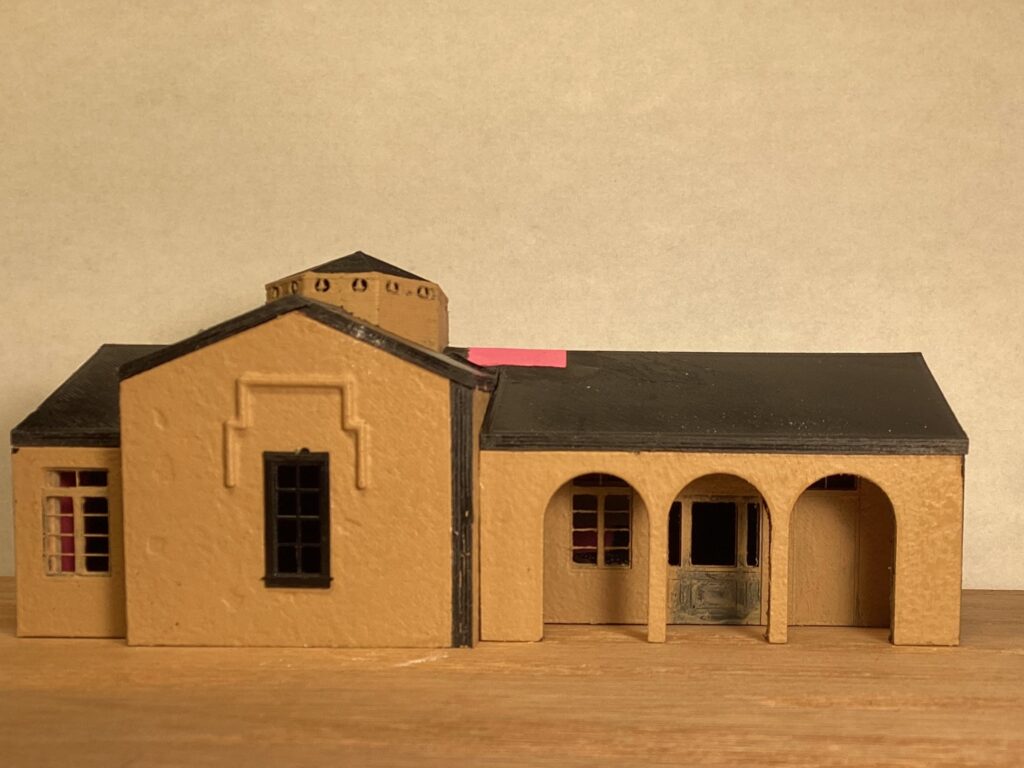
To create a high-detail stucco surface, I used a foam brush to stipple on a thin coat of acrylic interior home paint, and continued touching and lifting away the foam brush until the paint was nearly dry.
The roof was painted with a grey color. The roof on the prototype is covered with shingles. If I choose to create shingle roof with an appropriate texture, laser cut paper ones are available for purchase.
Trim Around the Roof
At the tops of the exterior walls bordering the roof, trim pieces were installed. These are made of cardstock cut into thin measured strips.
Creating the Sign
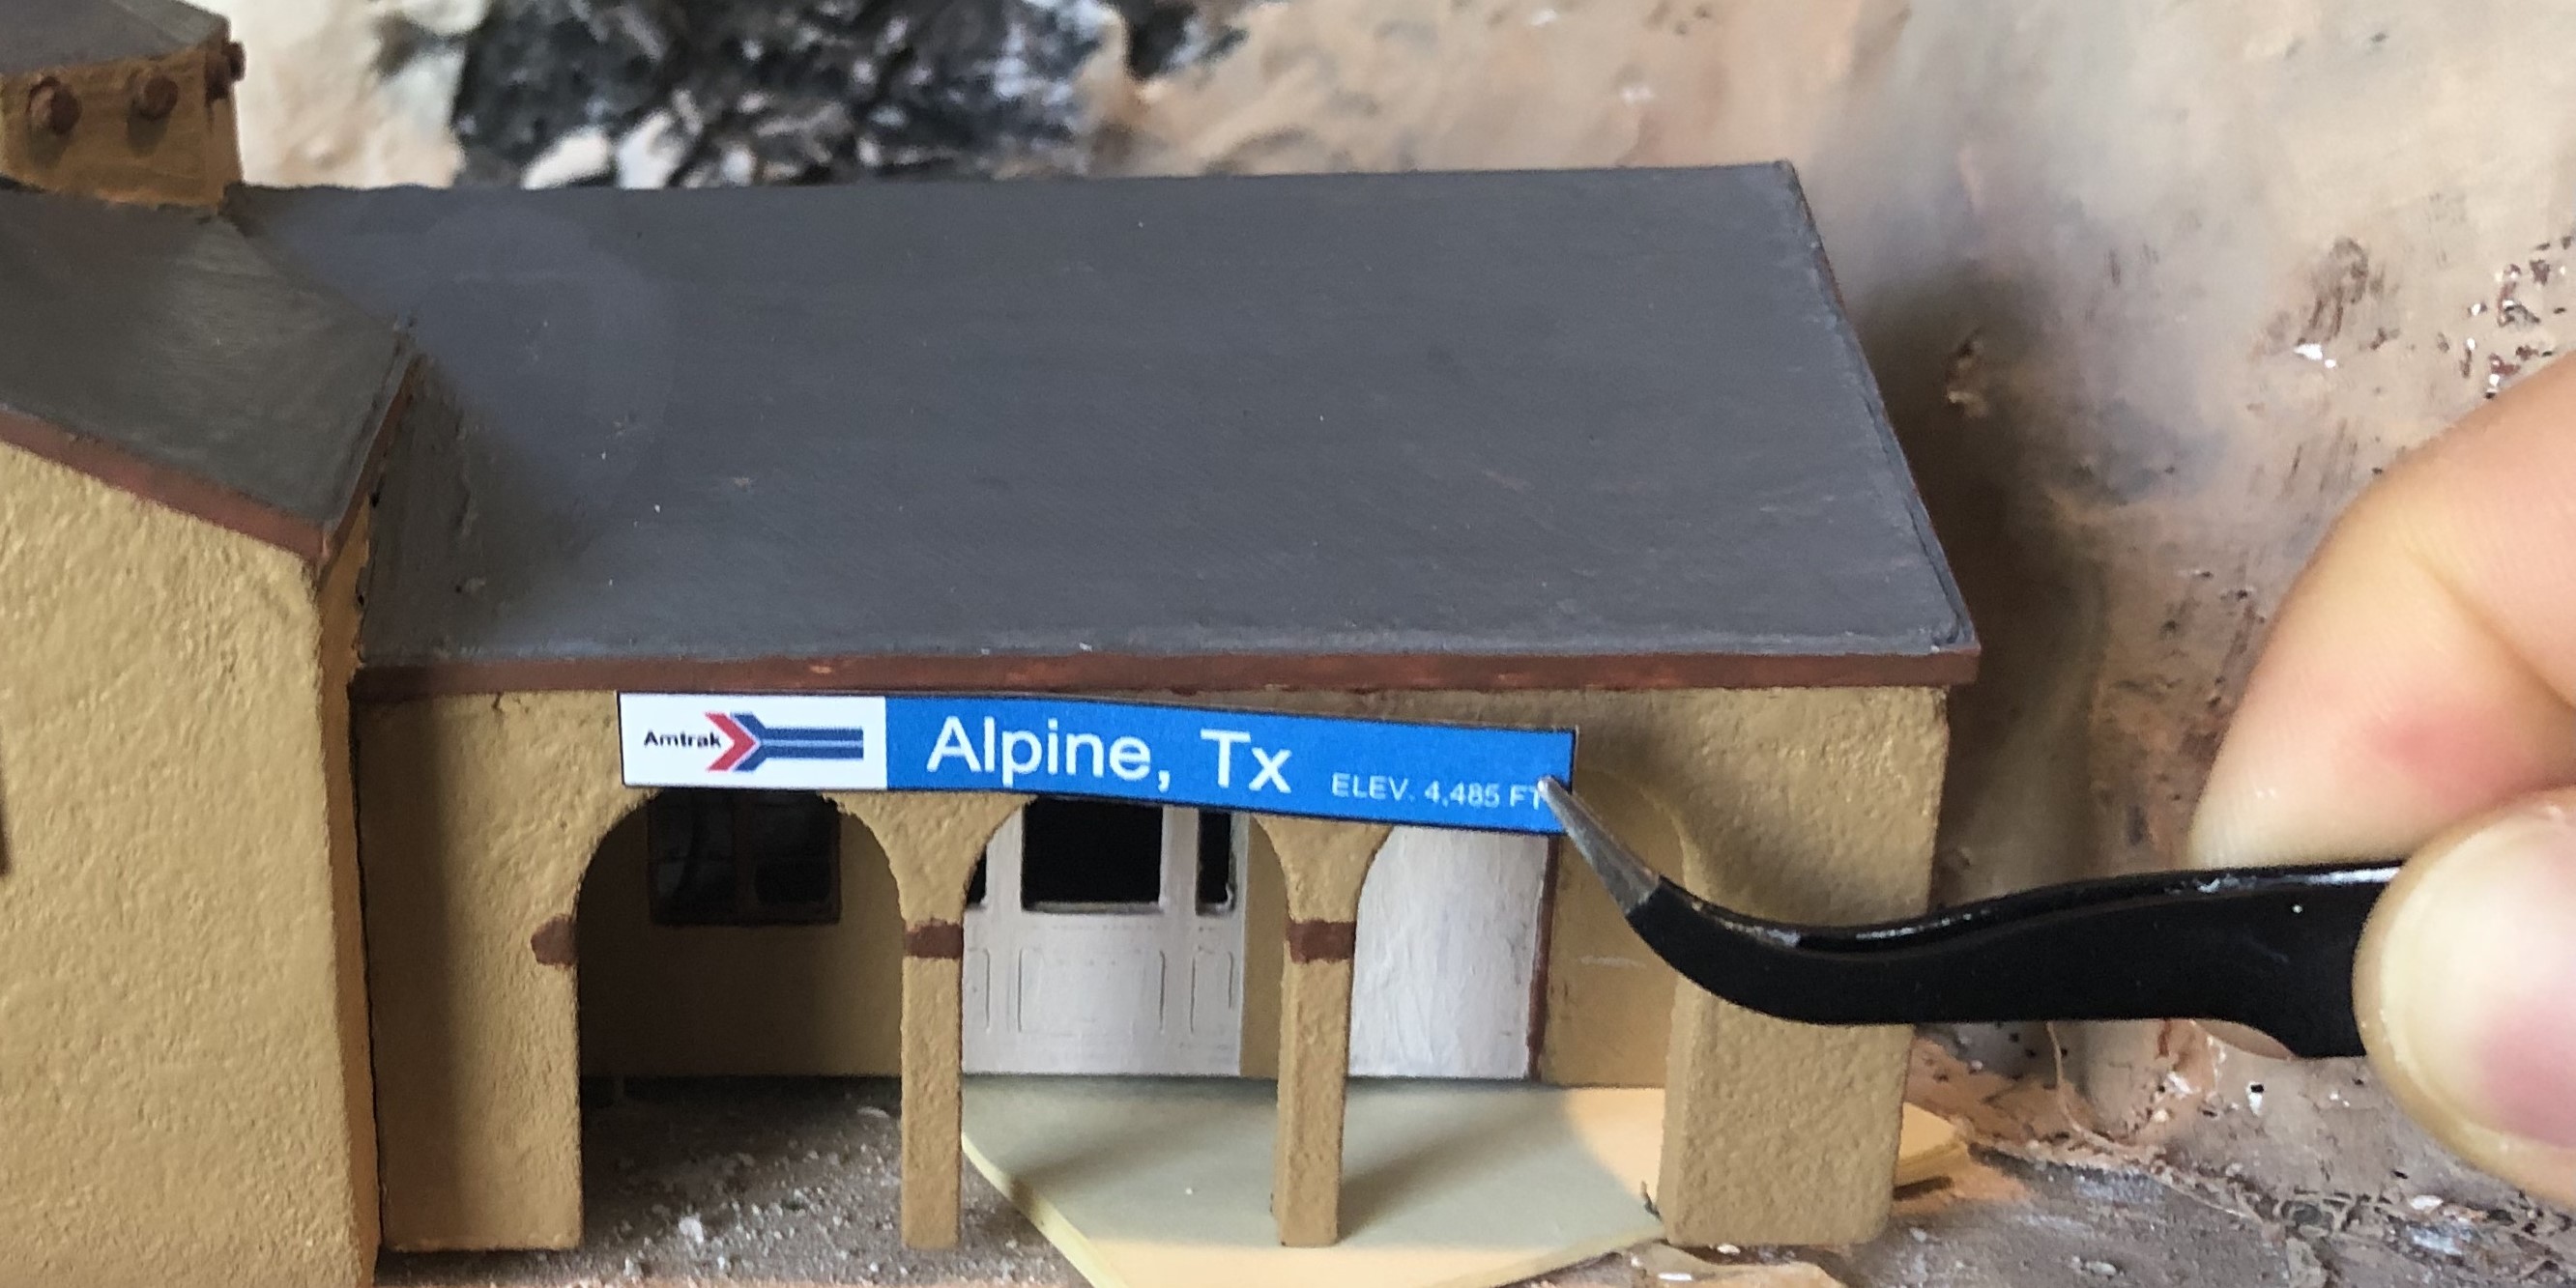
The sign on the building is simply a piece of printed heavier-weight paper. I designed it in PowerPoint, using the actual sign as a reference. I used the font “Arial Unicode MS” in PowerPoint, which closely replicated the one used on the actual station. It is glued with white glue.
Reflection on Construction
Overall, I am very happy with how the structure looks. Although using smooth wood for walls and molded plastic components for doors and windows could have allowed for a more-refined look (as I did when building my post office), 3-D printing did allow me to accurately plan dimensions and fit components together, with minimal measuring.
Next steps include creating a platform, adding additional signs, and perhaps platform lighting, as is on the prototype.